Hi everyone, today I'm showing you this very simple vinyl envelope, I made few and I'll have to create more, because I think I can say that it's the best solution I've found to store the dies.
I filmed a video, almost a vlog where for about 9 minutes ... then I said "this time I'll make a quick video which is maybe more immediate, then I'll write everything properly in the blog." And here I am.
As I have said other times, I believe that cataloging and organizing stash and tools is complicated and absolutely subjective thing, what is good for me can be not for you, anyway sharing our own way to store our stuff I think can give an idea and help someone to find a better solution.
I'm always looking for the best way to keep and tools here in the creative room. When I started buying the dies I arranged the bigz and sizzlits as if they were books, even the embossing folders at the moment need to be sorted out because I don't like them much in a box as they are at the moment, maybe they will go in the bags they currently contain bigger cutting dies, I'm studying the best system, I'll update you.

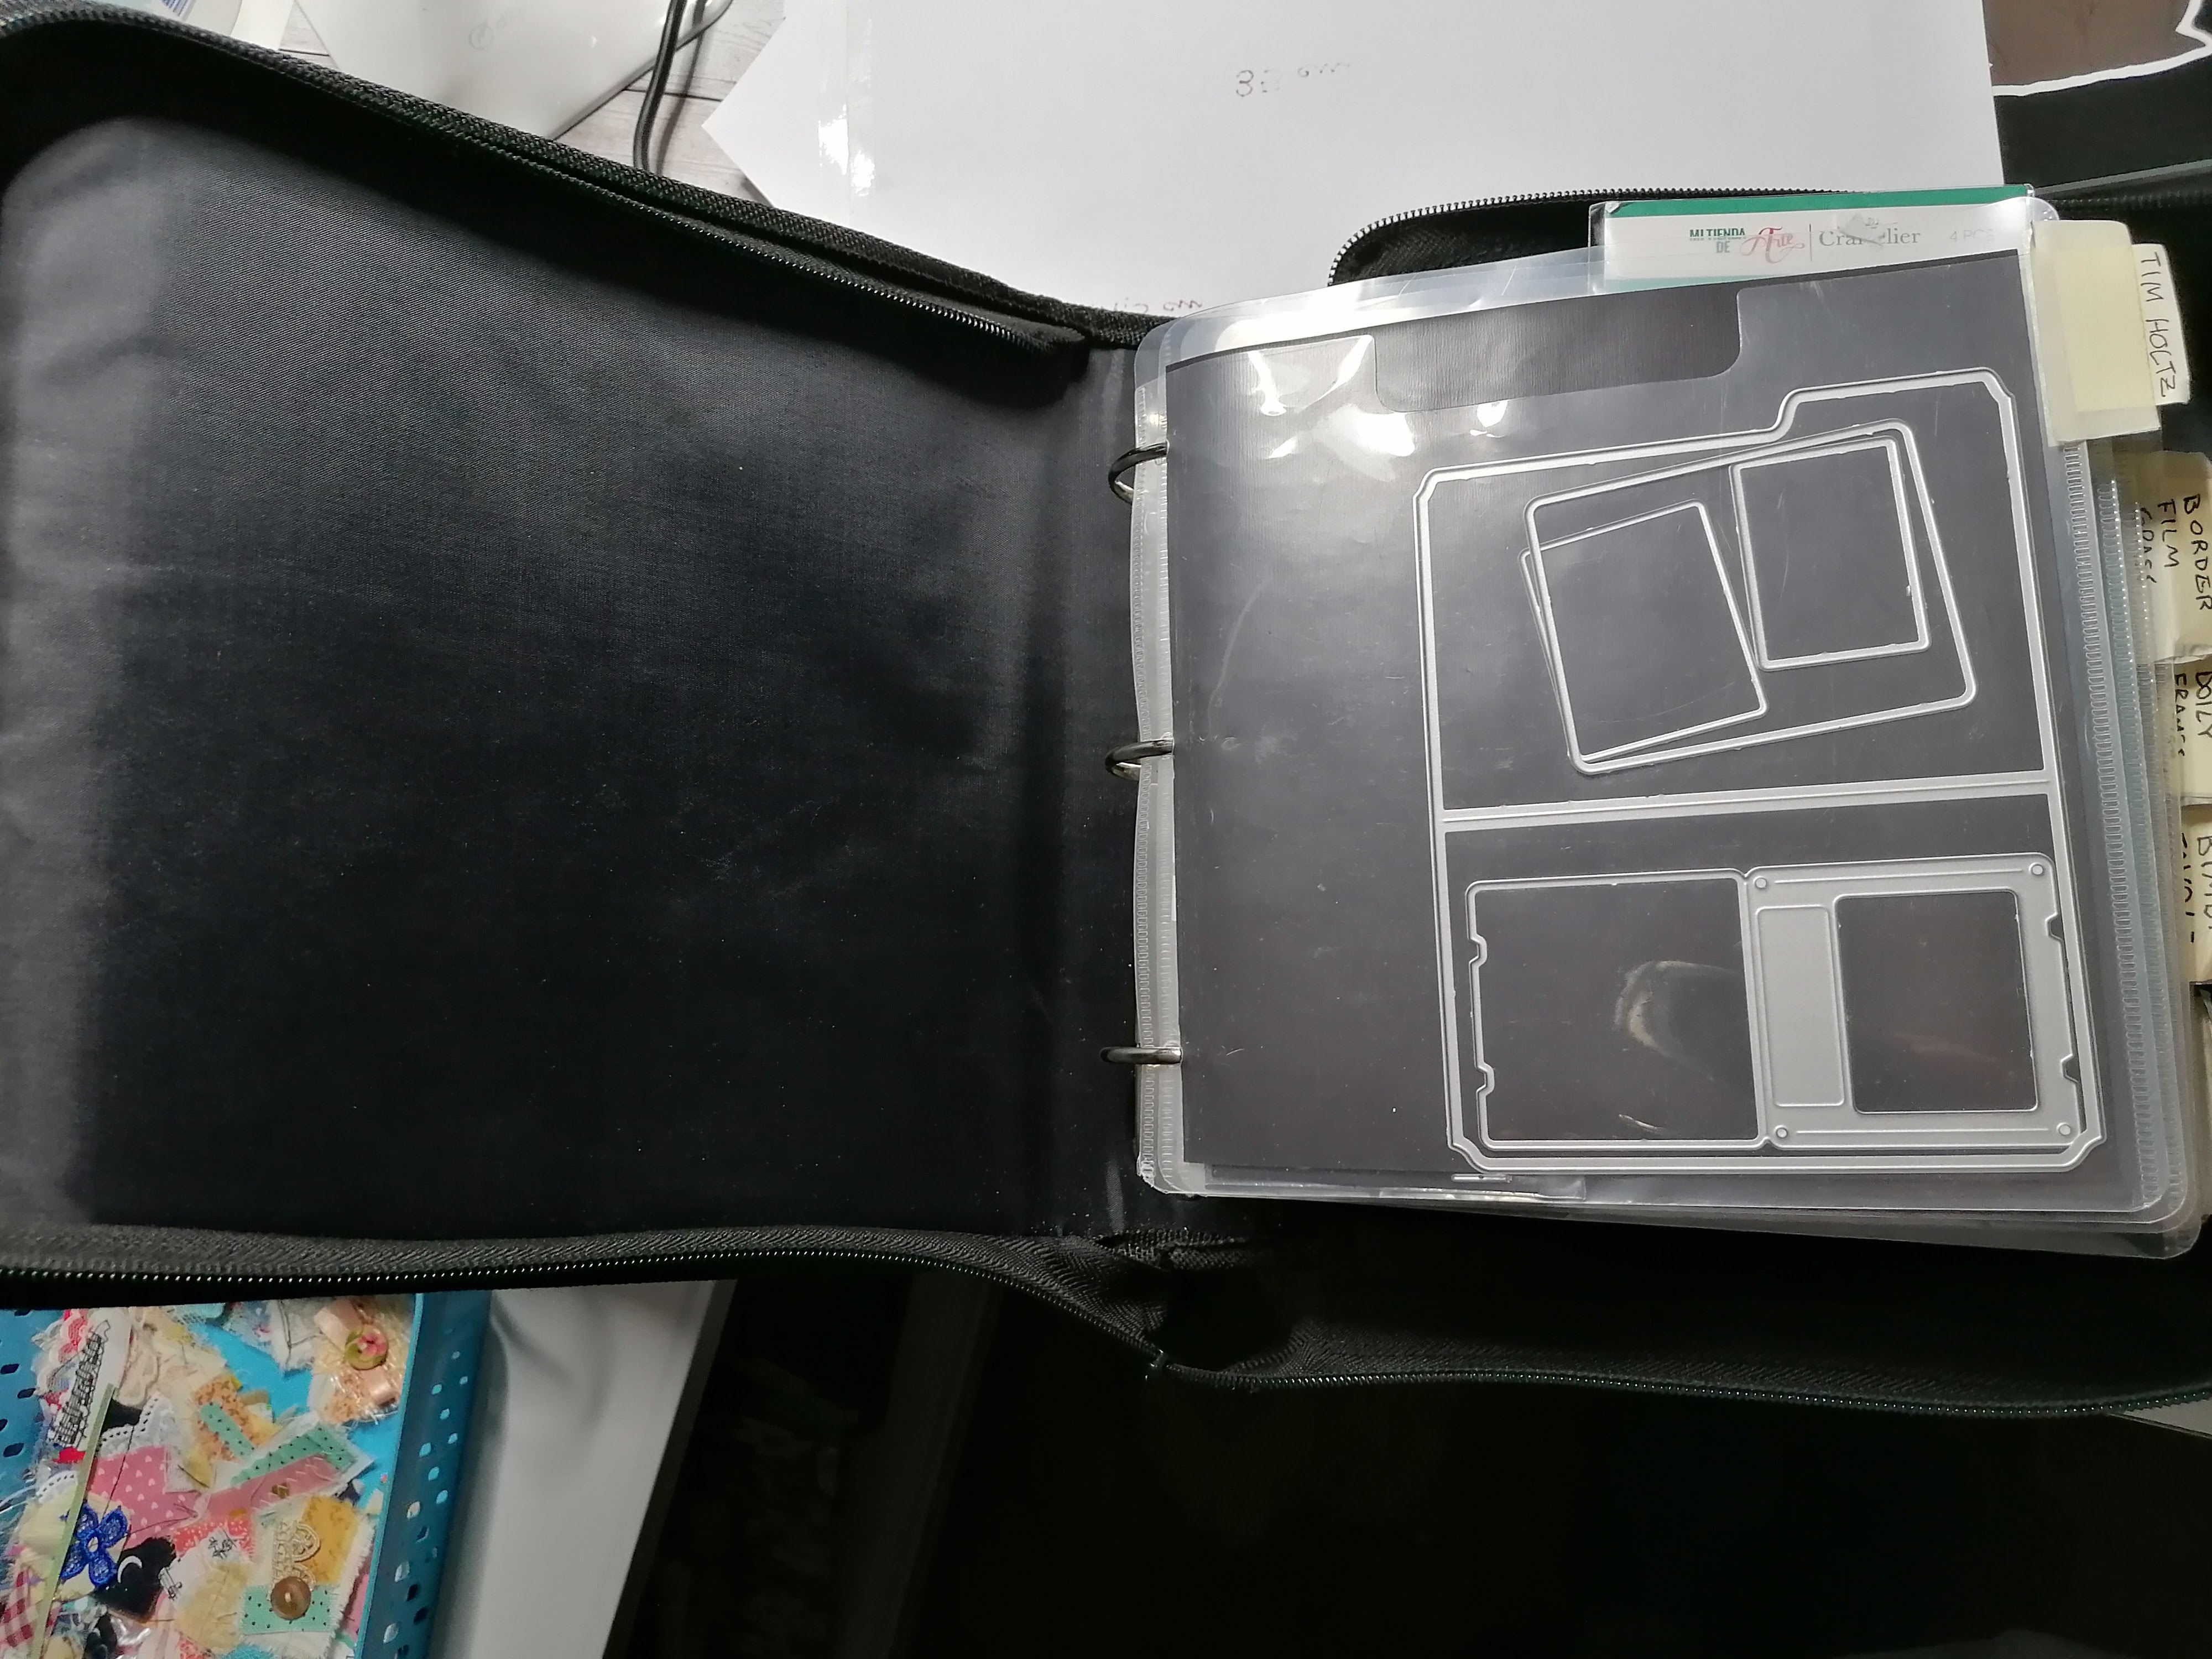
Before tobuy these bags, I made a sort of album with pages on which I had attached magnetic tape and every time I looked for dies I needed,they fell, because the magnetic power of tapes and sheets is very weak . Then I saw these bags/binders, they have rings like a normal binder and they are right for dies and stamps, each pocket contains a magnetic sheet that should hold dies , I say "should" because they don't stay in their place anyway. At the moment in one I have the largest dies which however have smaller pieces which are closed inside a plastic bag of those with a zip and in turn on a magnetic sheet. Hoping it would be more comfortable, I bought the one with 6 pockets in each page, as someone would say, "good but not very good" because I use the pages on both sides and on side B of the page the pockets at the bottom have access only from the front and therefore you have to take out the magnetic sheet and take the dies. Absolutely better than album I made before and also better than the document bags I made with pockets that many people asked me before discovering these kind of bags, and the video where I to sew these document pouches should still be in the channel.

Between the two bags, I prefer this one, for the moment I'm stuck with this solution, 2 binders/bag with tabs that make searching easier and a box (purchased from Lidl) where I placed the bags that I made and other that I buy with dies
See how little pieces don't stay in place.
And these are the envelopes that I bought with the dies and putting a piece of cardboard and a magnetic sheet, or the tape that I recovered from the unmade album, I must say that they stay in place and are practical, now I'm thinking of adding a image of the die above so you can find them more easily.
The problem is that I don't have everything in one category, let me explain, See bag first there are the butterflies, among the large dies also those dies with the sizzix stamp for example (they are in the other bag) and then the others are in these envelopes , I would like to have everything divided by theme, all flowers, all animals, etc. all in one place and not divided, and that's why I'm looking for your advice.
this is box I put all envelopes, I have 2 of these, and I want to find another one and catalogue all dies by theme. This size of box is absolutly perfect and envelopes fit right.
To create the sachets I used vinyl, or rather those tablecloths that are easily found in household stores, the transparent ones, nobody forbids us to make them in fabric, I wanted them to be transparent because I really meant to catalog dies.
The transparent in video is not seen much, in photos even worse so at the beginning of the video I put a sort of pattern.
I cut a rectangle of vinyl measuring 35cm x 15cm, and I got a bag 15cm wide and 14 high, as you can see from the photo at 13.5cm I made first fold, than I found the center (7.5cm) and got the shape of the bag, folding the 13.5 on the part of 14.5 we make a mark 1cm higher and we obtain the inclination of the triangle of the envelope, when I go to sew that extra cm that we have calculated makes the upper part of the envelope bend better.
I first made the stitch on the 15cm straight side then I folded and sewed all around, with the zig zag stitch, which in addition to being safer as regards the stitching is also decorative, I put the button with Kam pliers of the same color of the thread used, to apply the button we need an awl, an indelible pen with which to mark the point where the button will go. How does it apply? You can see it in this video and in the box I added the other link to the previous
video where again I showed how to do it, anyway we need 2 equal pieces, the ones that look like a thumbtack, and then there are two other types of button that allow you to hook, the part that looks like the pin goes inside the envelope and the other type up, by pressing the concave part with the pliers, which in my pliers is black, goes with the part that looks like to a pin, the transparent rubber part goes on the part that will then close, by pressing the nail it is crushed and blocked, the same on the other side, see well in the video.
For the version with Velcro, the first fact was wrong, the part that closed the bag remained outside the triangle, i.e. the Velcro was not completely covered by the vinyl, so we take the measure based on it, I'll show you a photo to better explain where I was wrong.

I had to cut the corners of the Velcro as they were sticking out the top of the bag. So before sewing the one on the envelope let's take the measurement based on the top.
We first sew the soft part of the velcro on the straight part just decorated with the zig zag stitch. I marked points with an indelible pen and sew, once the bag is closed I sew the second part of the Velcro, than the other one.
I've opened a profile on
Ko-fi, I'm new and I'm learning to use it, I'll try to upload patterns, photos etc there too, if you'd like to buy me a coffee and let me know you appreciate what I do...
I think that's all for now, if you want to share with me how you catalog and store your dies, let me know with a comment.
Have a good day and good creativity.
with love. Betty
P.S: please forgive my mistakes, I hope to be clear even if my english is not perfect. Thank you.


Nessun commento:
Posta un commento