Hi everyone, today I'm here with this post, after 3 videos and another one I have to film yet, I finished or it would be better to say completed my journal, because for me "finished" is when you have written in every single page and journaling space.
Collection from Etsy
CrafyCat shop.
You see, probably here in Italy there are very few of us who create this type of diaries and we all follow English, American, Australian and other foreing channels, so I don't know if I have to make videos or not, maybe I should make them and trying to talk in english, even if for me is not confortable, and I'm afraid to make mistakes, but I'd like to share my attempt, I think that every crafting thing we make help us to grow, I mean when I have a look at my very first creations I see how I changed and bettered
I will try to make a video in english, to be true I recorded it one yet, but I forgot a lot of things and I made a lot of mistakes in pronunciation, surely, so I will film again and here I try to say all at the best. I hope foreing friends will appreciate it.
In my videos I show you some steps of this journal, pages, how I joined with coffee dyed and the dyed paper and with other dyed papers made with tissue paper, I show you how I made cover and binding. For this journal i made 3 bindings.
I start by saying that for the cover I used two sheets of foam glued together and I must say that compared to felt it is much better, because the Journal that I made with the other collection tends to make the pages bend, this one is more sturdy, it is not cardboard so it doesn't rip and it is not all fabric which is too soft. It's a system that I liked very much. I saw this idea from Cristina of "una tacita de scrap".
I sewed a streight stitch all around the cover and than I sewed a second stitch, strip with white hearts that I used to close journal, I sewed with a zig zag stitch, one stitch jumped so I added a label on back cover
For front cover I diecut a doily in foam and I glued Alice on it and some flowers as focus point underneath I glued a kind of fabric, is not a fabric to be true, but forgive me I can't say what it is, is like a web, I got this web from a favor bag, I bought them in several colors because I find them really decorative and make it see what is underneath, I love them. All around I added a lace, some bows, flowers and leaves, number 12 and a label with "journal" on it, this is a dies I bought recently a very cute alphabeth. (see first photo)
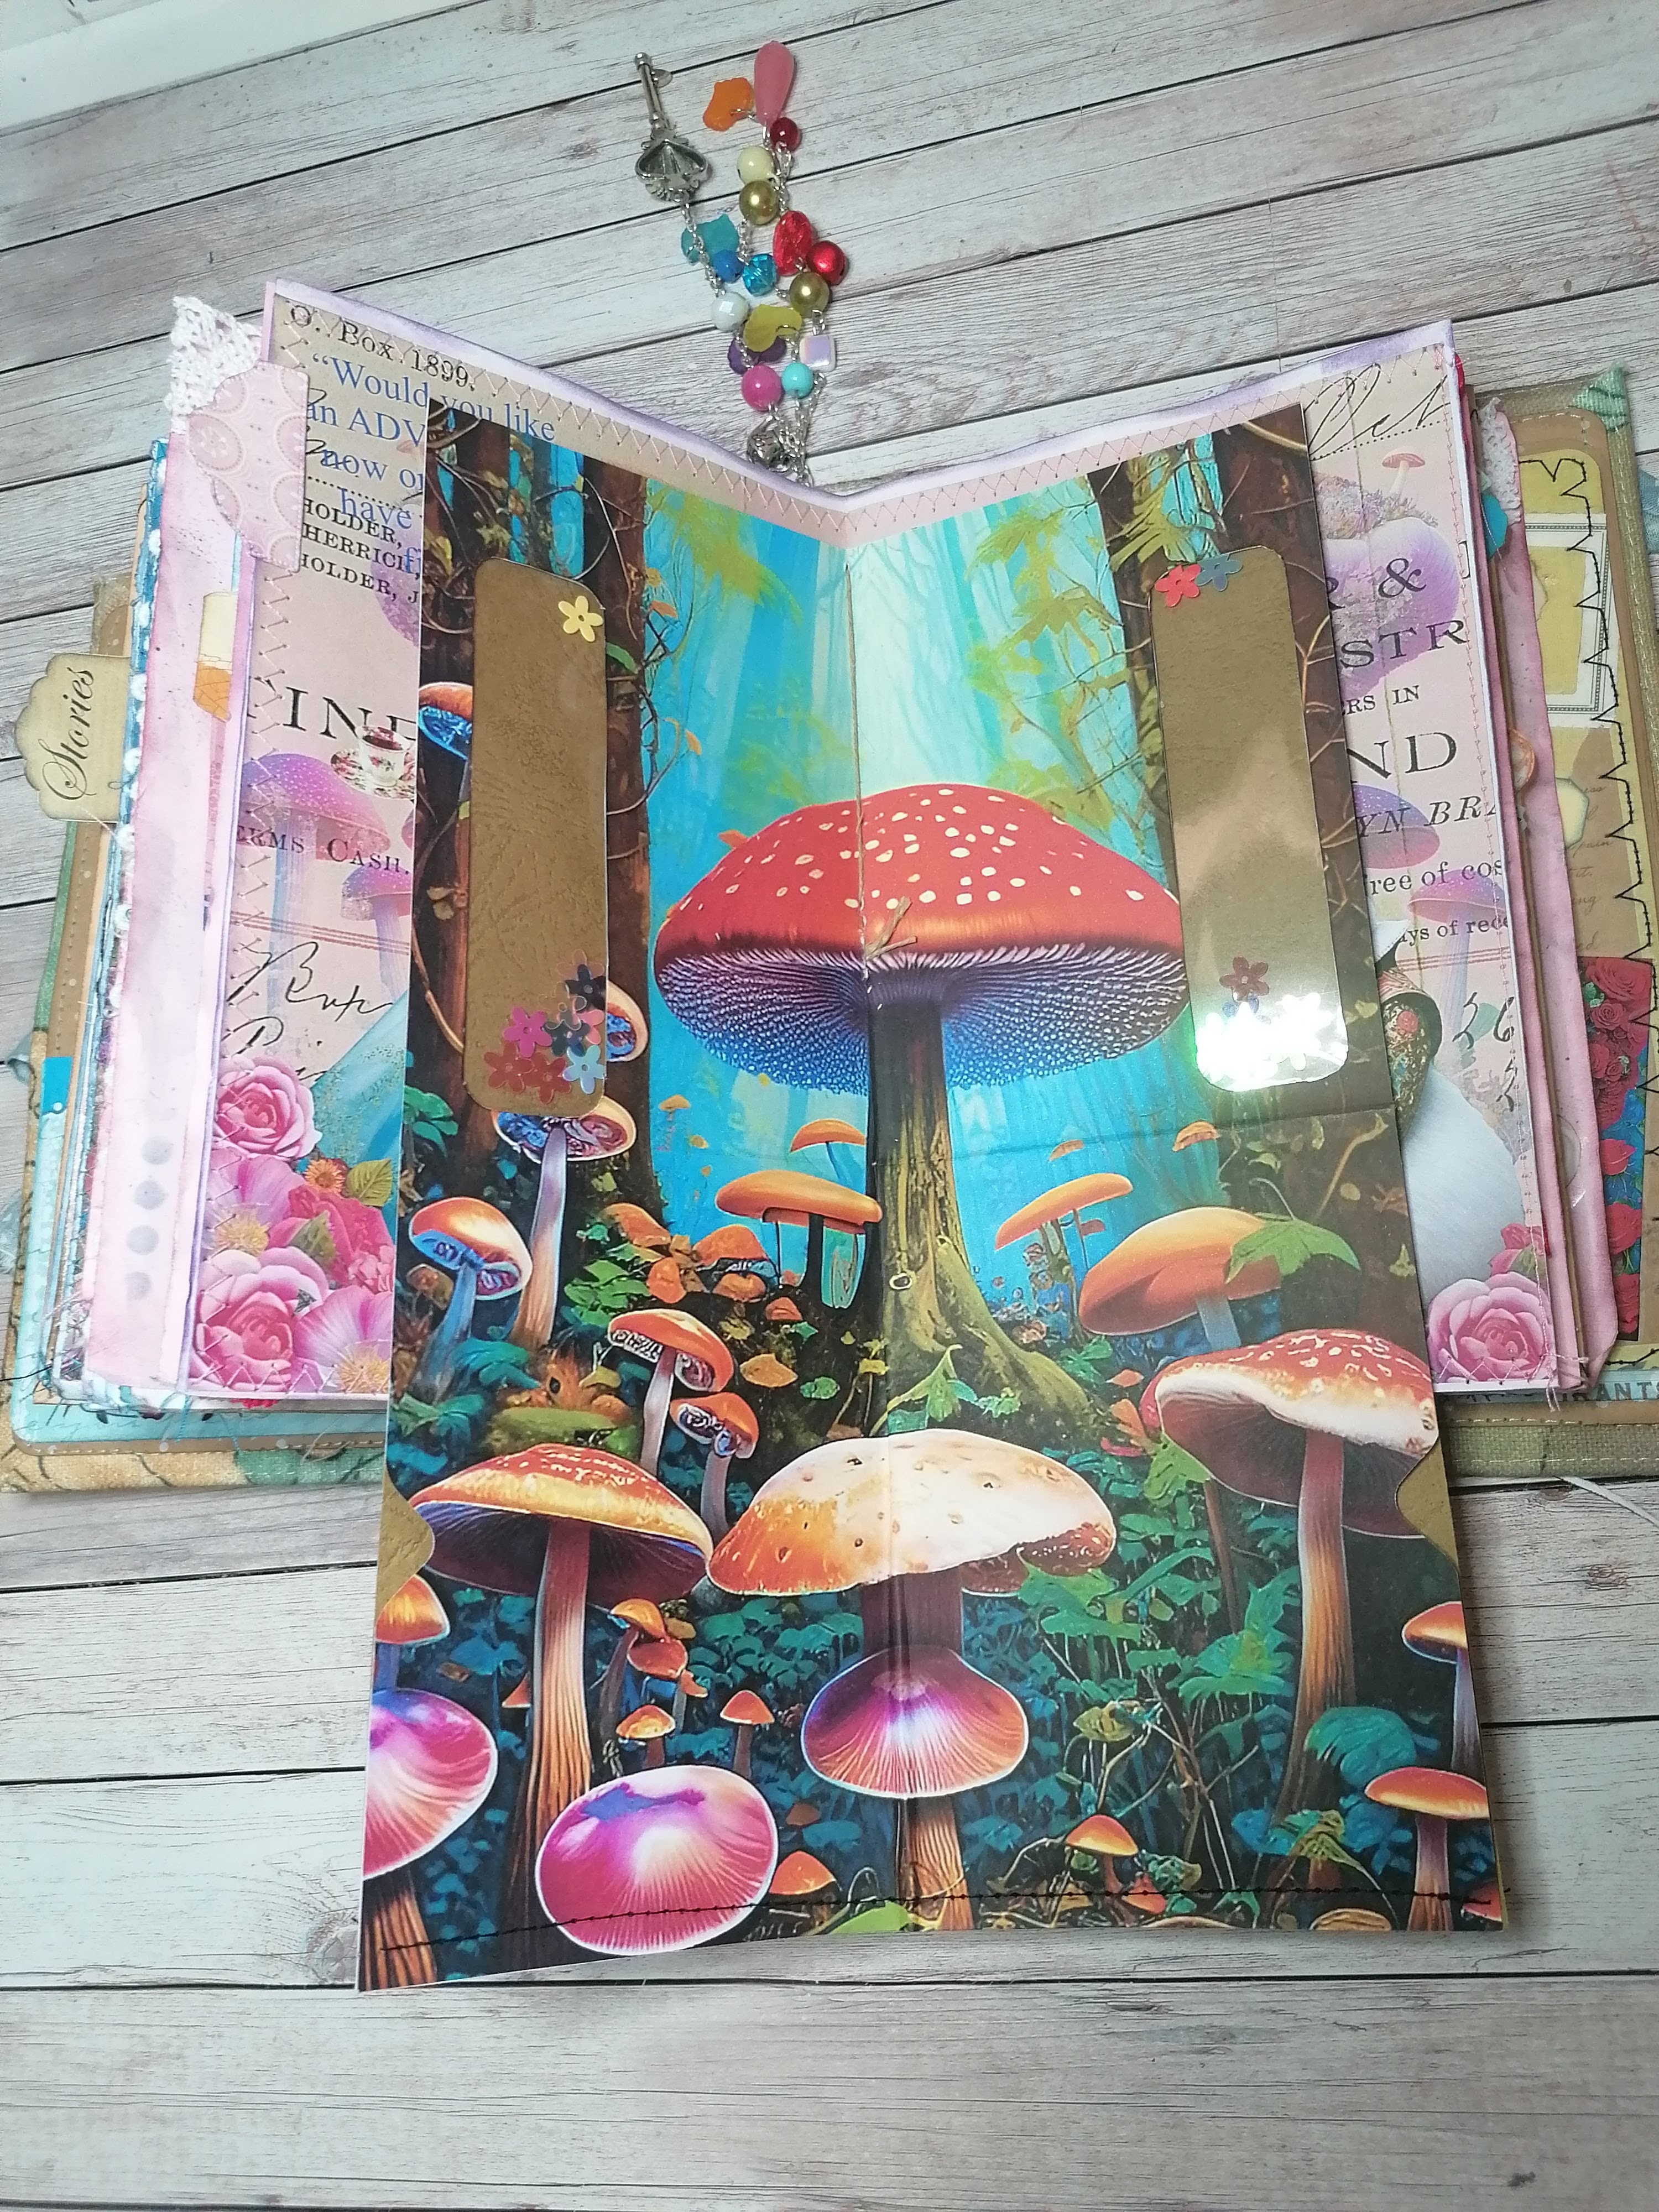
tassel and how I hang it on this journal, well I hadn't a jump ring so large or an oval one to put on eyelet, so I took a jewel nail and a flower that I add at beads to embellish jewels, so from inside to outside I add nail and this flower (top for beads?) and on outside of the cover I made a eyelet turning around to it, we call this kind of knot "nodo ad orefice" goldsmith's knot.
usually with the round tip pliers you make an eyelet and then cut it, this type of knot instead, turning around the tack ensures that it does not open with the weight of the tassel
Usually I make this kind of tassels with threads and laces, adding bells and beads but it's really difficult because I have most of beads have a thin hole and to make thread pass trhrough is a mess.
So for this one and also for previous journal I made a tassel as I made jewels, with chains, nails and beads, some leaves, and I always add to each tassel some little bells because a tassel have to sound absolutly I love when you move journal and it sound, I also added a key and a tea pot (charms)
I closed everything in a jump ring and I added a lobster clasp* (*we call moschettone) to be able to hang it in the eyelet created earlier
I fussy cut everything out with my precious 5 diopter lens, because guys I can't see well anymore, unfortunately my eyes continue to lose diopters, slowly, ok I'm not so young anymore but I know it's not only related to age there are other reasons...
I printed twice the ephemera in the collection, because while I was printing I forgot to change where it says "fit to page" so some elements has been cut, I fussy cut them anyway and than I bought another additional file with a lot of lovely fussy cuts as mushrooms and butterflies, twins (Tweedledum and tweedledee) I hope I wrote right in Italy we call them Pinko Panko and Panko Pinko, other flowers... To fussy cut everything it took me a loooooooot of time
what is left I will use it to create other ephemera for the other journal that I intend to do with an Alice theme, I bought a collection from Stamperia, in this journal I added some elements from that collection too, see some cards and playing cards
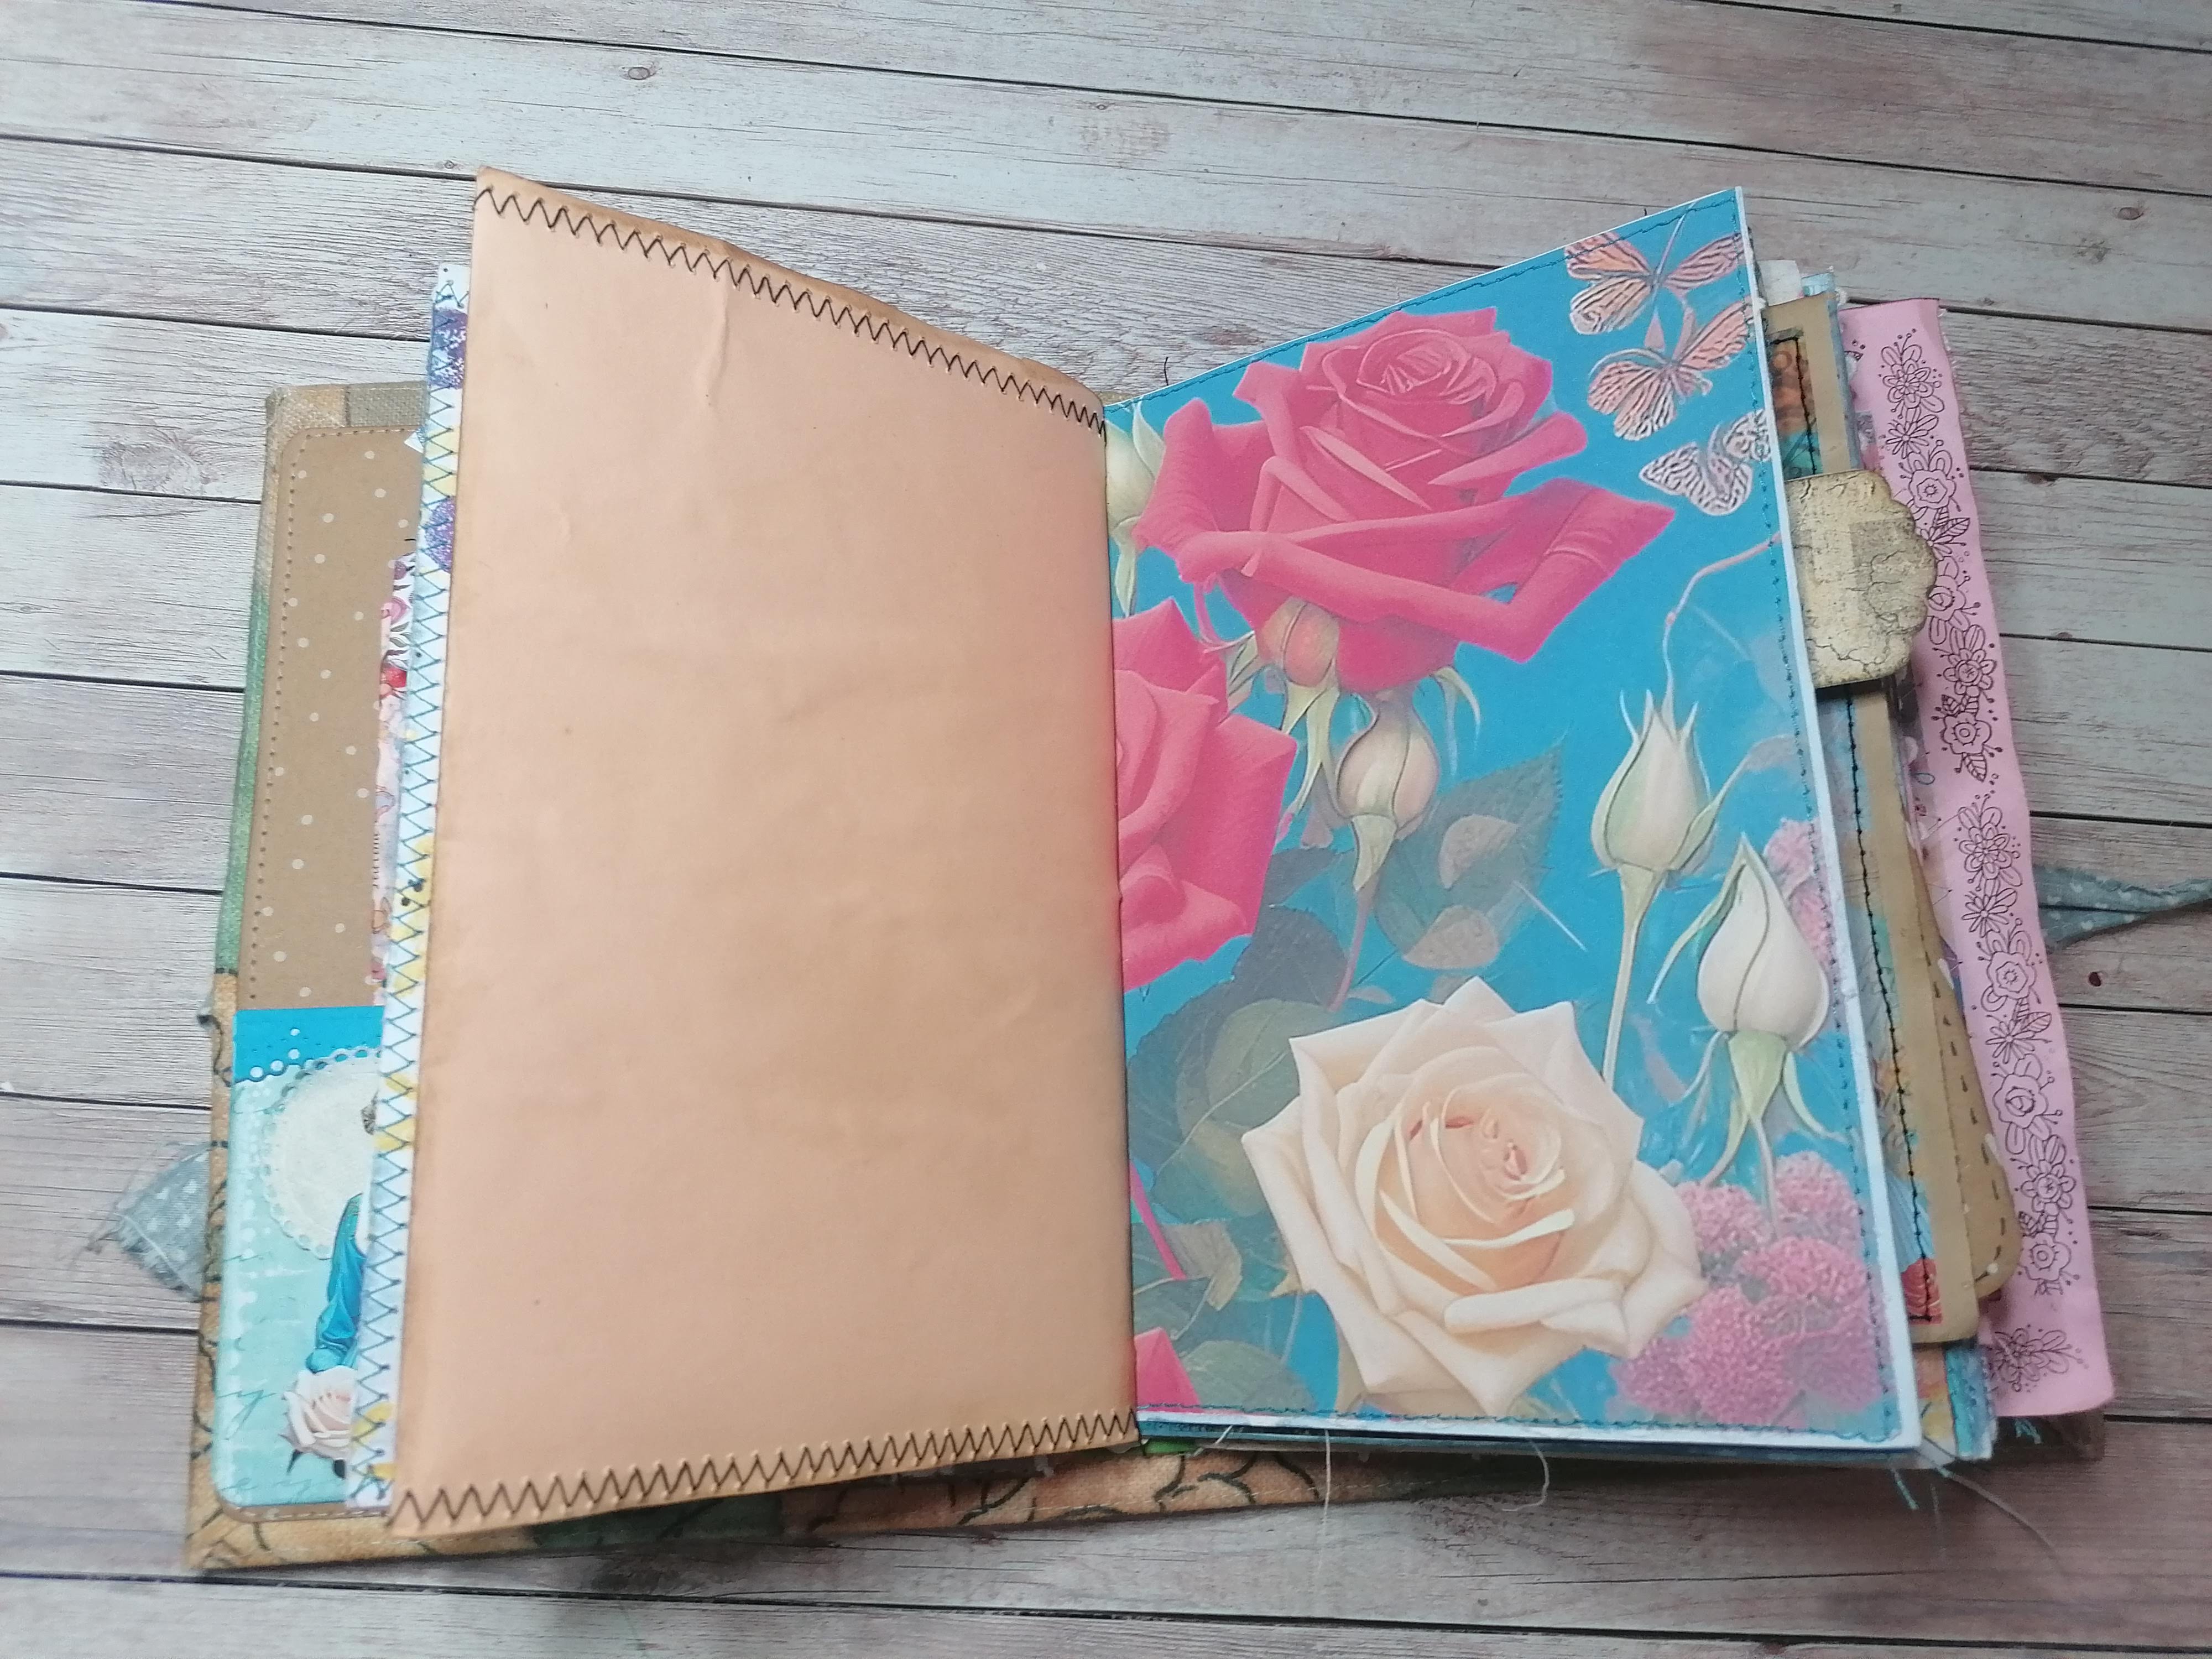
Let's go inside the journal, as I was telling you before I sewed a second stitch later, after I glued a piece of scrapbook paper inside and than a pocket, on both inside covers.
I also added a trim of lace and an edge I diecut in blue (always a new die) I glued 2 doilies and an image of Alice from the collection, in pink envelope I keep quotes and all left over of fussy cuts of the collection
in previous videos you saw 2 envelopes a pink one and a sky blue one, well here pink one I embellished with a doily some flowers and stickers and a quote, there are a lot of them in the journal, see next pic.
For first page I glued a tab only. For second one as you can see in videos this is a page I printed with gelli plate, all in gold color with some flowers, I added a image of Mad Hatter, a faux rice paper made following a Treasure Books tutorial, another quote in a frame and a stamp of a tea pot with some cups, a rose.
this page has an angle pocket, really good for high tag, this one was a premade one, colours was good
for this journal.
to this page, I added another page I printed with gelli plate too, one side is purple and other side red with hearts, as you can see I glued on it a mushroom and I added texture with a paste (with a little squares stancil), gluing page I created a sort of little pocket where I added a little card.
on edge I glued a butterfly, another flower and a little label with numbers. As you can see quotes from Alice book and movie are everywhere. On right side of this flip page I glued a tiny trim, inside I glued a corner pocket, another trim of lace, and inside this pocket a journaling card from the collection, in corner pocket you have extra journaling space.

let's see right page, flower in the window is a true flower I laminated and put into a frame and here glued on 2 sides to have a window pocket, quote at the top of the page(some pic up) I printed with a mini printer I bought recently from a market here called Lidl, but I saw them in Amazon, Temu, Shein... You can print from smart phone or tablet with an app where there are some templates and drawings and you can print photoes too, but in black and white, is a thermic printer, not like a printer, but for some notes and little photoes for journals, diaries, to leave a note somewhere it's really funny, in this journal I printed some notes and labels with it. Funny
heart on corner of this frame is made with handmade paper, I showed in a video, and I diecut some shapes and I embossed them too, I keep them in a jar that contained a hair mask, so they are really perfumed.
On this page in my last video I glued a ruffle only, than I made a bigger card and on background with a stancil and Stormy sky distress ink I made a clock. I'm not very happy with this card I don't know why maybe background too dark, If I have a better idea I will make something else, maybe when I print with gelli plate again, I guess it would bettere a color like orange or sky blue or anyway a lighter green.
In next page I embellished a craft colour sack, with stormy sky distress ink and a stancil I made some squares shape, glued some flowers, a vellum piece, Alice and an half frame, inside a tall tag, mini playing cards are not fussy cut but real mini cards, I think they are cool, I bought them from Aliexpress, I'd like to find something bigger than these and smaller than other I have and I altered...

For this page, on left side we have back of sack that I embellished with a trim of lace and some stickers. On right page a belly band made with a scrapbook paper where I glued some fussy cuts of the collection, a card and a tag kept here.
For this page I also added a page after with a scrapbook paper and back I glued coffe dyed paper and a fabric tape.
Here one of the page that I fold not in half because of Mad Hatter at the center of the page, so to don't hide him in the binding I folded not at half, on flip you can see another note, this is on adhesive thermic paper I printed with mini printer, on left page a image with bunny and a little window pocket, flower on it is a sticker. It's not acetate but laminated piece of sheet, I keep left over pieces of laminated, I like them more than acetate ones.
Page open, you see Hatter...
 |
| a secret place to write :) |
 |
| fabric flip |
With the same kind of dyed paper (with tissue paper) I made a sort of waterfall where there's a lot of space to write, I embellished every page with some elements of the collection.
Some tags and cards and mini journaling card was in "premade ephemera box" and I have to make others and I have to think at next journals I want to make and for others I have to complete, here I looked for ones which went right with these colours.

As I said several times I'm not so bright but I experiment every time, so I try to do better than before each time.
I add all pictures but I don't write under each one because are more than 100 photoes, a very long post this time.
This card was for that page where I said I wasn't very happy, well this one I added here because of colours stay better in this page, clip on it I made in these days, because a clip if is embellished is better. I glued a label under image of Red Queen and a Rose, from other side of card some cookies they are from decoupage paper trasparent container is a sticker, forgive me I don't know name of that, I don't know its name in italian neigther, but I liked a lot because remind me table where Mad Hatter and his friends take tea and treats
 |
| other envelope sky blue you saw in videos, I glued here |
 |
here another note printed with mini printer
|
As you can see there are a lot of pages free, a lot of journaling spaces, this page remember me a scene fo the movie and of the cartoon inside Red Queen castle, with walnut stain and with a stacil with a nice wall shape and another with roses I made this page, I like it a lot.
Here is too empty, I don't know if I make a pocket or a belly band or if I will make something with texture paste and colors and some stickers, this one and next one to be true.
 |
left page other embellished paper clip
|
Page with big flowers too empty too, same story I was telling you before. I don't know, maybe when I write on this journal I will decide to write on this page or to add stickers or to make a collage like I make in my "exercice layout books"(art journals)

This is a junk mail envelope with window, I embellished like this and it's a triple pocket a side one, one little in front of and another back because I glued across 3 sides of the envelope, at the moment nothing in that pocket (back).
Here cards that are inside that pockets, one is a double card, the smaller one is a negative of my diecuttes I keep them and I make little cards adding a background and some embellisments like stickers or labels, other one is an altered playing card.

In the movie, Hatter sews some hats for Red Queen, and I don't know why but in this page I wanted to remeber that scene, so I added a needle with thread and a scissor and a spool of thread I also have a diecut of sewing machine but too big for this page, what's pity.
 |
| wax seal with White Rabbit |

Here another corner pocket with an extra space for the diary, I should use more of these bottle caps, if I'm not mistaken I made a video about them... I also add a wax seal, with the White Rabbit
 |
| other altered playing card |
 |
| Mat side A |
 |
| mat side B |
That's all for the moment, a very long post this time, I hope you enjoyed this journal, I send you kisses and hugs. Thank you if you read it till here.
Lot of love. Betty